Why Epoxy Floors Peel or Bubble (and How to Fix It)
Nine times out of ten, a peeling epoxy floor traces back to one of three causes — and all three are entirely preventable with the right installation process.
The #1 Cause: Skipped Surface Preparation
Acid etching — what most DIY kits and budget contractors rely on — only lightly roughens the surface. It doesn't open the concrete's pores, so the coating sits on top of the slab rather than bonding into it. Within one to three use conditions, that thin mechanical bond typically fails, and the coating lifts in sheets, especially at tire-turn points and near the garage door.
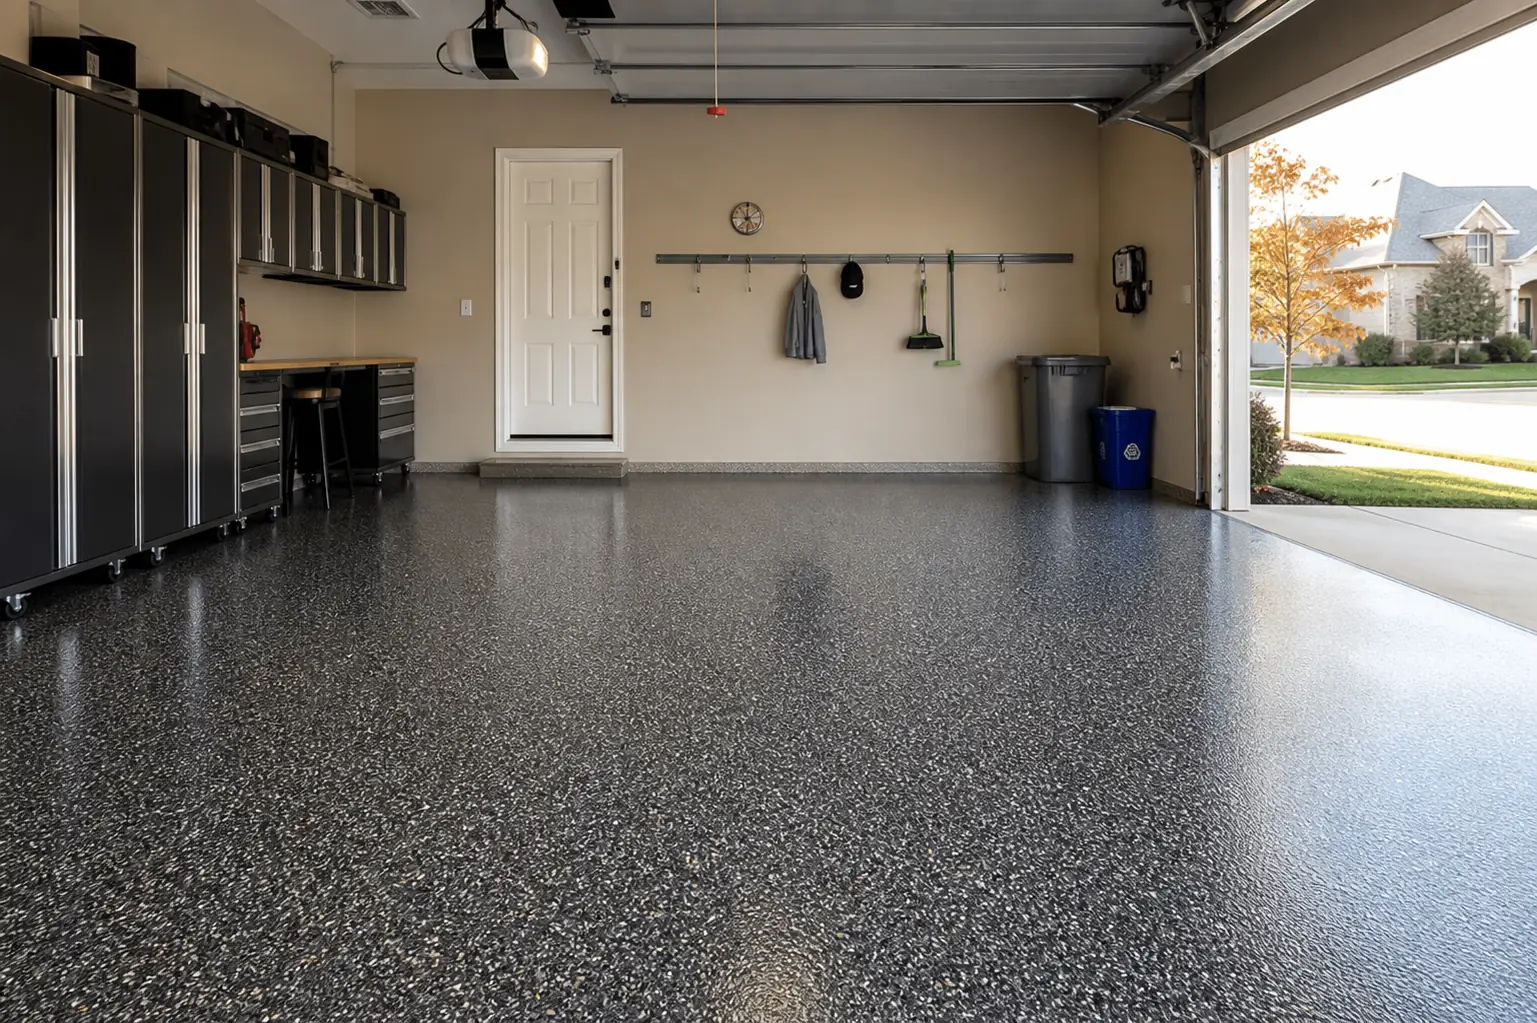
Diamond grinding profiles the concrete to a CSP-2 or CSP-3 rating (Concrete Surface Profile, the industry standard) which physically opens the pores for genuine chemical adhesion — not just surface contact.
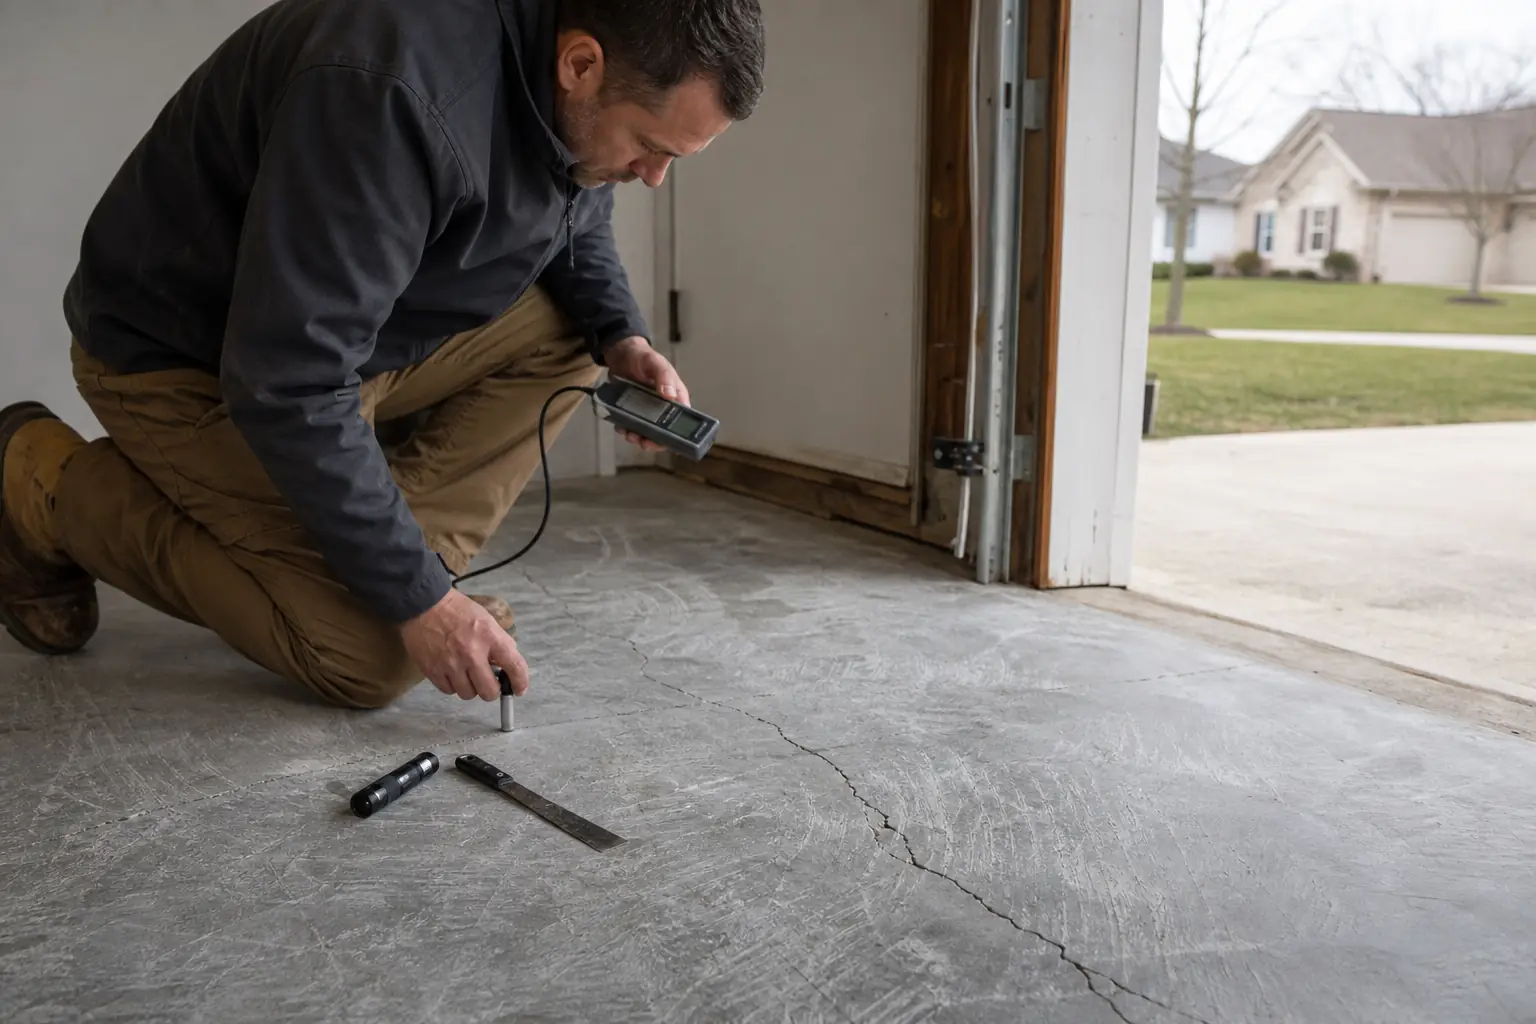
Moisture Vapor Emission: the Invisible Cause
Every concrete slab constantly transmits small amounts of water vapor up from the ground below. If a coating is installed without testing for this, trapped vapor pressure can build underneath it and push the coating up in bubbles — sometimes not until months or years later, often showing up first after a wet Florida spring or a humid summer. Testing moisture vapor emission before quoting a job is a step most contractors, and every DIY kit, skip entirely.
Low-Solids and Water-Based Coatings
Store kits are typically 40–50% solids, meaning roughly half the can evaporates as it cures, leaving a thin film behind. 100% solids epoxy cures to its full poured thickness — two to three times the film build of a DIY kit — which resists impact, hot tire pickup, and peel far longer.
Can a Peeling Floor Be Fixed, or Does It Need to Be Torn Out?
The failing coating has to be mechanically ground off first — you can't coat over a coating that's already failing; it will just fail again, usually faster the second time. Once ground back to bare concrete, the slab is re-profiled and installed correctly. This is a routine job for us, and a large share of the calls we get from Palm Beach Gardens and Jupiter homeowners start with exactly this situation: a previous DIY or budget install that's already peeling.
How to Tell If Your Existing Floor Was Prepped Correctly
- Signs of acid-etch-only prep: smooth, slightly shiny bare concrete visible at any chip points; uniform, thin coating thickness; peeling that starts at edges and seams first
- Signs of proper diamond grinding: rough, matte, textured concrete visible at any chip points; thicker, more rigid coating that resists chipping at the edges
One Failed Floor, One Correct Installation
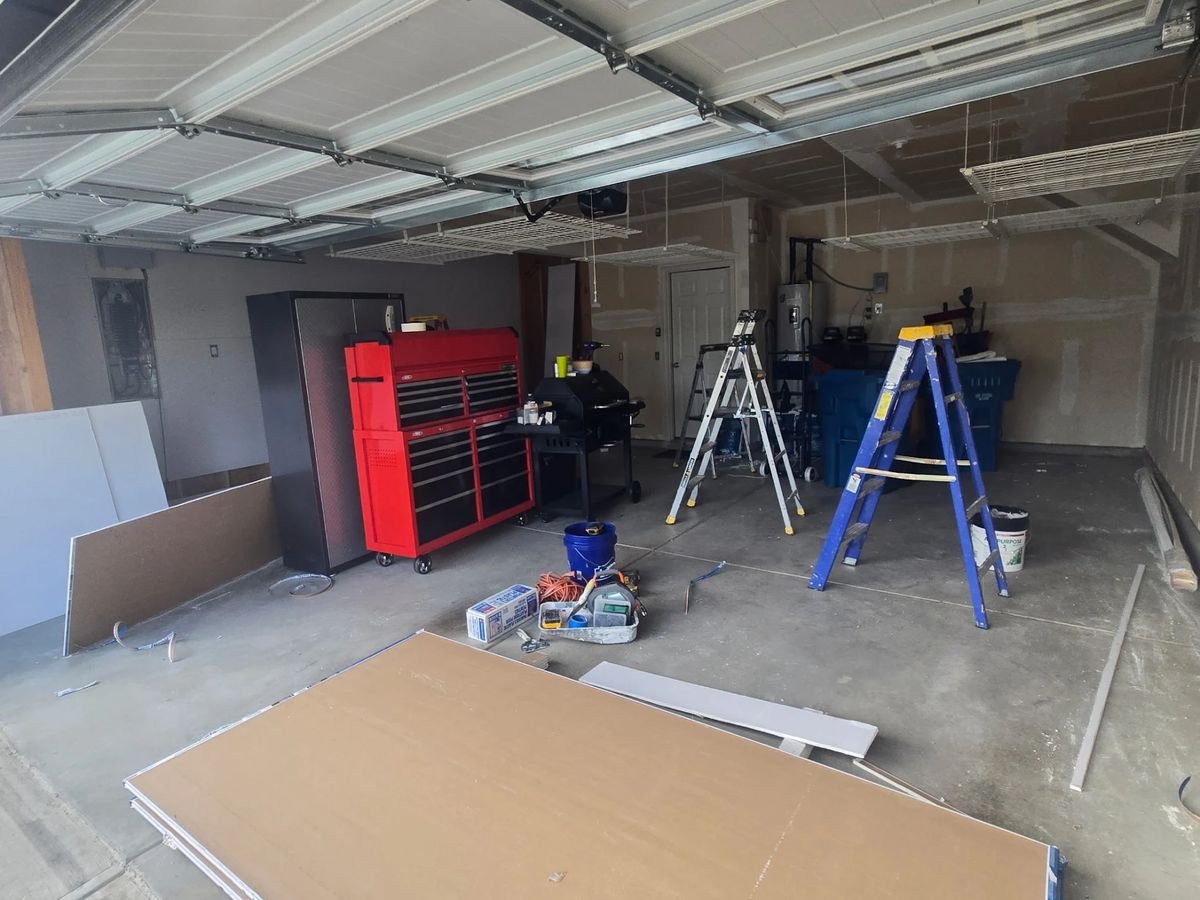
Grinding a failed coating off and starting over isn't a downgrade from a fresh slab — once it's back to bare, prepped concrete, the process is identical to any new installation.
The difference is knowing what went wrong the first time, so it doesn't happen again. Every re-do we complete gets the same diamond grinding and moisture testing as a brand-new slab, backed by the same warranty terms supplied in writing.
Get Free EstimateQuestions Answered
Ready to Start Your Garage Transformation?
Free on-site estimate. One quote for everything. Lifetime floor warranty included.
Get Free Estimate